Best AI Clothes Remover Tools in 2026: A Fashion Editing Guide
Compare Photoshop, Canva, Pixlr and Photopea, then use a practical worksheet to test your own clothing images.
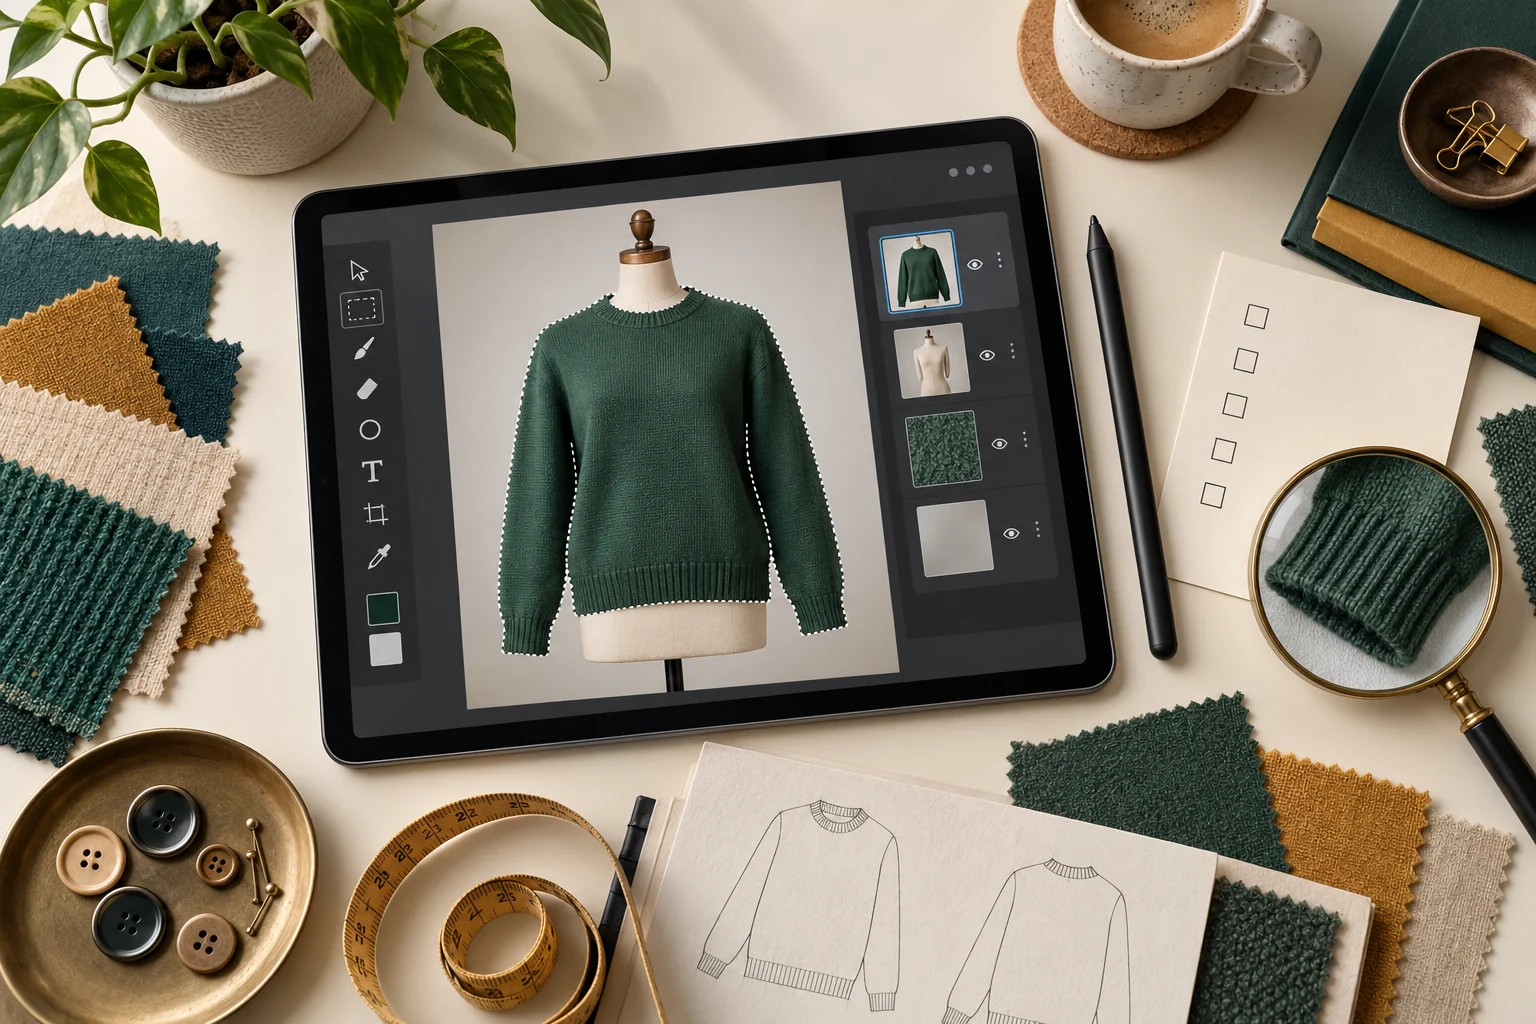
Quick answer: choose a clothing editor by the operation you need. Photoshop offers a layered workflow with selected-area generation; Canva and Pixlr document browser-based generative editing; Photopea documents masks and adjustment layers for controlled manual work. Test your own garment images before committing to a plan.
The best AI clothes remover tool for a fashion project is the one that produces an acceptable, fully clothed image with the controls and rights your project needs. An attractive demonstration cannot establish that an editor will preserve your product's seams, handle a difficult pose or export a suitable file.
This guide compares documented editing capabilities and gives you a repeatable evaluation worksheet. It covers outer-layer replacement, garment recolouring and related apparel work. Prices, quotas, regional availability and feature access can change, so check the provider's current documentation and checkout terms before purchasing.
1. Define the category before comparing products
“AI clothes remover” is an ambiguous search phrase. In a legitimate apparel workflow, removing a coat means replacing its visible area with a covering base garment and reconstructing any affected background. It does not recover hidden photographic evidence. A generated sweater is a new image element, even if it resembles the visible fabric.
Other jobs often get mixed into the same category. A background remover isolates a garment; a colour adjustment recolours existing pixels; a virtual try-on tool combines a person image with a garment reference; a ghost mannequin workflow creates a garment presentation using appropriate product views. These operations need different inputs.
Start with a one-sentence deliverable: “Remove an outer coat for a styling preview,” “Recolour a shirt while preserving its construction,” or “Show the exact jacket sold in this listing.” The last task demands much stricter reference accuracy than the first.
2. Compare the documented workflows
| Editor | Documented capability | Useful evaluation task | Check before choosing |
|---|---|---|---|
| Adobe Photoshop | Generative Fill, selections and layer-based editing | Local garment replacement with boundary repairs | Plan, generation limits and editable handoff |
| Canva | Magic Edit / generative fill | Simple clothing concepts inside a design workflow | Feature access and downloaded image dimensions |
| Pixlr | Generative Fill in a browser editor | Selected-region replacement and web exports | Credits, project saving and model-specific terms |
| Photopea | Masks and adjustment layers | Manual garment recolouring or reference compositing | Selection precision and the final saved document |
The table describes a starting workflow. It does not establish an accuracy ranking or promise that any editor accepts every clothing request. Apply each provider's content rules and verify the controls in your account before you spend time preparing a batch.
3. Photoshop: evaluate the complete layered workflow
Adobe's Generative Fill guide documents prompt-based editing of selected regions. For apparel work, the important evaluation question is how effectively you can combine a generated garment region with untouched portrait details and separate repair layers.
Use an open coat over a visible, plain sweater as an initial test. Select the coat, specify a fully covering sweater continuation, and inspect the collar, hands and background. Preserve the original photograph so that an altered face or finger can be restored rather than regenerated repeatedly.
Also test a task that does not require generation: recolour an existing shirt with a masked adjustment. If most of your workload is colour correction and small repairs, the value of the editor may come from its manual controls and handoff format rather than the volume of generated outputs.
Before choosing a plan, check the features included, generation allowance and file formats needed by collaborators. The same subscription name can include several services, and a particular model or feature may consume credits differently. Record the plan and feature you actually test.
4. Canva: evaluate editing together with the final design
Canva's generative fill page describes Magic Edit for adding, replacing or modifying image content. That makes it an option to evaluate when an edited fashion image will be placed into a social graphic, presentation or other design.
Test the entire journey, including the export. An image can look adequate inside a design canvas but lose useful detail when downloaded at a smaller size. Inspect the exported garment, not just the preview inside the editor.
Choose a restrained task for the first trial: replace a plain top with a fully covering long-sleeve shirt, or make a small styling change. Use a clear source image and check the garment boundaries. If the request needs exact branded construction, bring a real reference and confirm that the workflow supports the required level of control.
Check whether the relevant feature is available in your account, device and plan. For team projects, also test how another person reviews the design and which files they receive. An editor is useful only if it supports the approval and delivery process around the picture.
5. Pixlr: evaluate selection, saving and output together
Pixlr documents selected-area generative fill in its browser editing tools. Its Editor interface also describes saving projects as PXZ and notes that temporary browser projects can be lost when the cache is cleared.
That saving detail matters for a real clothing job. Download an editable project where supported and confirm you can reopen it. A good result stored only in a browser session is a weak handoff for a client revision a week later.
Test a garment boundary with a hand nearby and another with a plain background. Check whether the selection tools let you isolate the intended clothing without changing surrounding details. Then inspect the final image's actual dimensions and texture.
Review the plan, credits and terms for the specific generation feature or model you use. Do not assume every operation in a broad editing suite has the same cost, licensing conditions or privacy behaviour. Keep the account's current feature description alongside the trial notes.
6. Photopea: evaluate a manual route for precision work
Photopea's official learning material explains layer masks and adjustment layers. These controls are relevant when the goal is to keep garment construction and make a local colour change, or combine a real reference photograph with the original portrait.
For a shirt recolour, build a garment mask and apply the adjustment through it. Inspect areas where the shirt touches the neck, wrist and background. This approach preserves the original photographic structure while giving you a reversible colour correction.
For an outer-layer edit, a mask alone cannot supply concealed fabric. You need a real reference layer or another reconstruction method. Evaluate Photopea for the manual compositing and repair parts of that workflow rather than assuming the product name implies a specialised clothing generator.
A manual route may require more skill, but it can be valuable when one incorrect seam is unacceptable. Test the time required to create a usable selection and hand off the document. Compare that complete effort with the retries and repairs a generative route requires.
7. Run a repeatable test with your own images
Create a small evaluation set with permission to edit every image. Include a plain garment in even light, a patterned garment, a portrait with hands near a sleeve, and a photograph with a challenging background. These cases reveal different failure modes without relying on curated marketing examples.
Give every editor the same starting files and the same written brief. Use equivalent selections where practical, record the feature or model used, and save each output. If one workflow requires manual repairs, include those repairs in the time and cost record.
Assess results against the original and any real garment reference. Use the same viewing sizes for every candidate. A zoomed-out preview should not compete against another tool's full-resolution output, because that comparison hides different levels of detail.
For each image, record: usable without repair, usable after repair, or rejected. Add a short reason such as altered collar, mismatched pattern or incorrect hand. A simple approval record gives you more useful information than assigning unexplained stars.
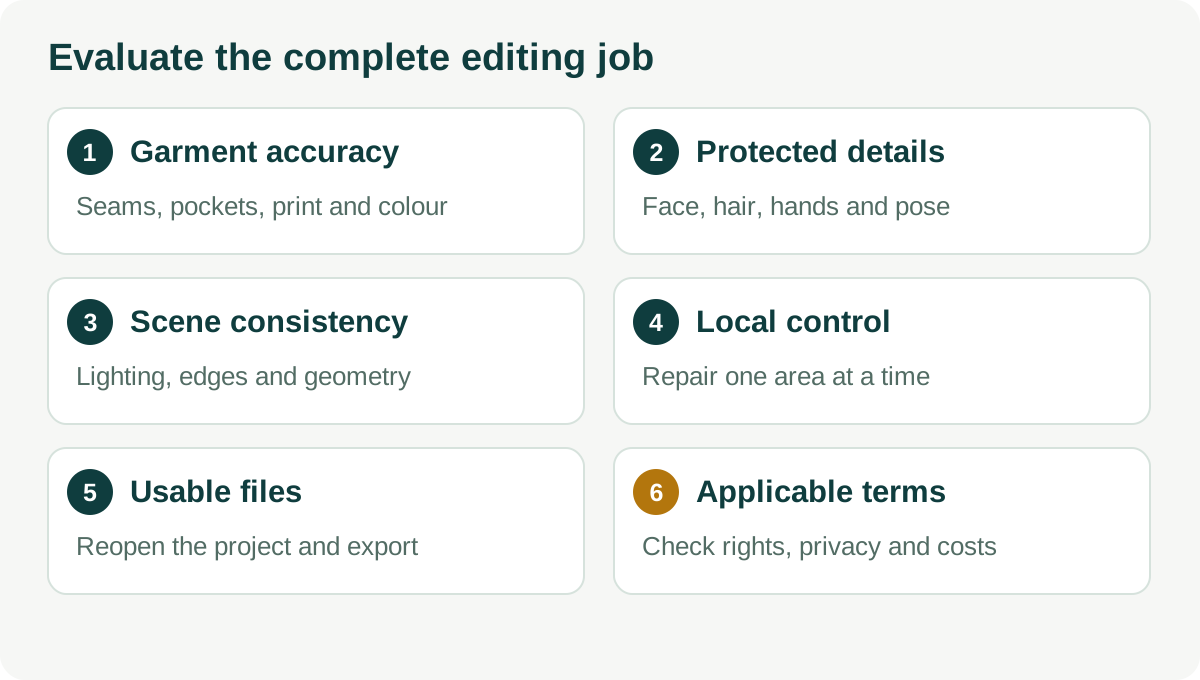
8. Review the five quality criteria that matter
- Garment fidelity: compare seams, buttons, pockets, logos and fabric with the brief or reference. A plausible garment can still be the wrong product.
- Protected details: inspect the face, hair, hands and pose wherever they should remain unchanged.
- Scene consistency: check shadow direction, sharpness, background geometry and edges around the new outline.
- Editing control: confirm that you can correct a local mistake without rebuilding an accepted part of the image.
- Delivery reliability: reopen the saved project and inspect the actual downloaded file at its intended size.
Use hard requirements before preferences. If transparent output is mandatory and the editor cannot produce it in the needed workflow, an attractive preview does not solve the job. If the image must depict an exact textile print, a generic generated pattern is a rejection even when the rest looks polished.
9. Compare total cost and rights before subscribing
A low advertised price may cover only a subset of features, an introductory period or a limited generation allowance. A more expensive plan may still be unsuitable if it cannot preserve the product details you need. Compare the cost of an approved image rather than the cost of a single button press.
Record subscription or credit cost, generation attempts, hands-on repair time and approval time. If twenty attempts produce five deliverable images, the useful denominator is five. Our free versus paid guide provides a worked calculation you can adapt to your own workload.
Commercial permission also has several layers. The editor's output terms do not replace permission to use the source photograph, the subject's likeness or a brand asset. Confirm each relevant permission before publishing. Read the provider's current policy for image retention and training use when client photographs are involved.
Check how to cancel, how credits expire, whether tax is included and what happens to saved projects after a plan ends. These details can affect a small seasonal clothing project more than a large headline credit allowance that goes unused.
10. Make the final choice by project type
For an exact colour change, begin by evaluating masked adjustments. For a hypothetical outfit concept, compare selected-area generation and the ease of revision. For a catalogue image of a real garment, prioritise references, construction accuracy and a reproducible handoff.
For occasional personal editing, a browser workflow may be convenient if it handles the required files and terms. For ongoing client work, editable masters and clear approval records may matter more. For a mobile-only project, use the iPhone and Android guide to test touch selection and original-file exports.
Keep the winning workflow documented with one approved example, the source file, the edit brief and the final export settings. Recheck when the provider changes features or when your images become more demanding. A successful simple coat edit does not prove that the same workflow can reproduce a patterned designer jacket.
Use a comparison worksheet with visible evidence
Create one row for each source image and editor. Record the feature used, selected area, written brief, attempts, repair minutes, downloaded dimensions and approval decision. Attach a close crop of the weakest boundary, even for accepted images. This makes the comparison useful to another person who did not watch the trial and prevents a polished full-frame preview from hiding a specific garment error.
When choosing a tool for a team, ask a second reviewer to assess a few outputs without seeing the subscription price. Agree on hard rejection conditions beforehand, such as altered identity or incorrect product artwork. Keep creative preferences separate from those requirements. After selecting the workflow, retain the worksheet and one editable example as an onboarding reference. Future changes in models or plan limits can then be tested against a documented baseline.
Frequently asked questions
Which tool is best for every clothing edit?
There is no reliable universal choice. Recolouring, replacing an outfit and reconstructing a hidden base layer are different jobs. Use the documented controls to make a shortlist, then evaluate the complete workflow with your actual source images and required deliverables.
Does a paid plan guarantee better results?
No. A plan may change access, generation limits or exports, while the hard part remains the source image and editing task. Verify whether the paid feature addresses the problem you observed during the trial rather than assuming that payment fixes garment errors.
Can I trust a tool comparison without original test files?
Treat unexplained ratings cautiously. A useful comparison states its inputs, workflow and acceptance criteria. This guide supplies a test process so you can evaluate the images, terms and costs relevant to your project.
Does an editor's commercial licence cover the whole picture?
The provider's terms are one permission layer. Source-photo rights, subject consent, trademarks and the intended publication can require separate review. Read our image permissions guide before approving a commercial deliverable.