AI Clothes Changer vs Clothes Remover: Which Edit Do You Need?
Choose the right editing operation from the required final image, rather than relying on ambiguous product names.
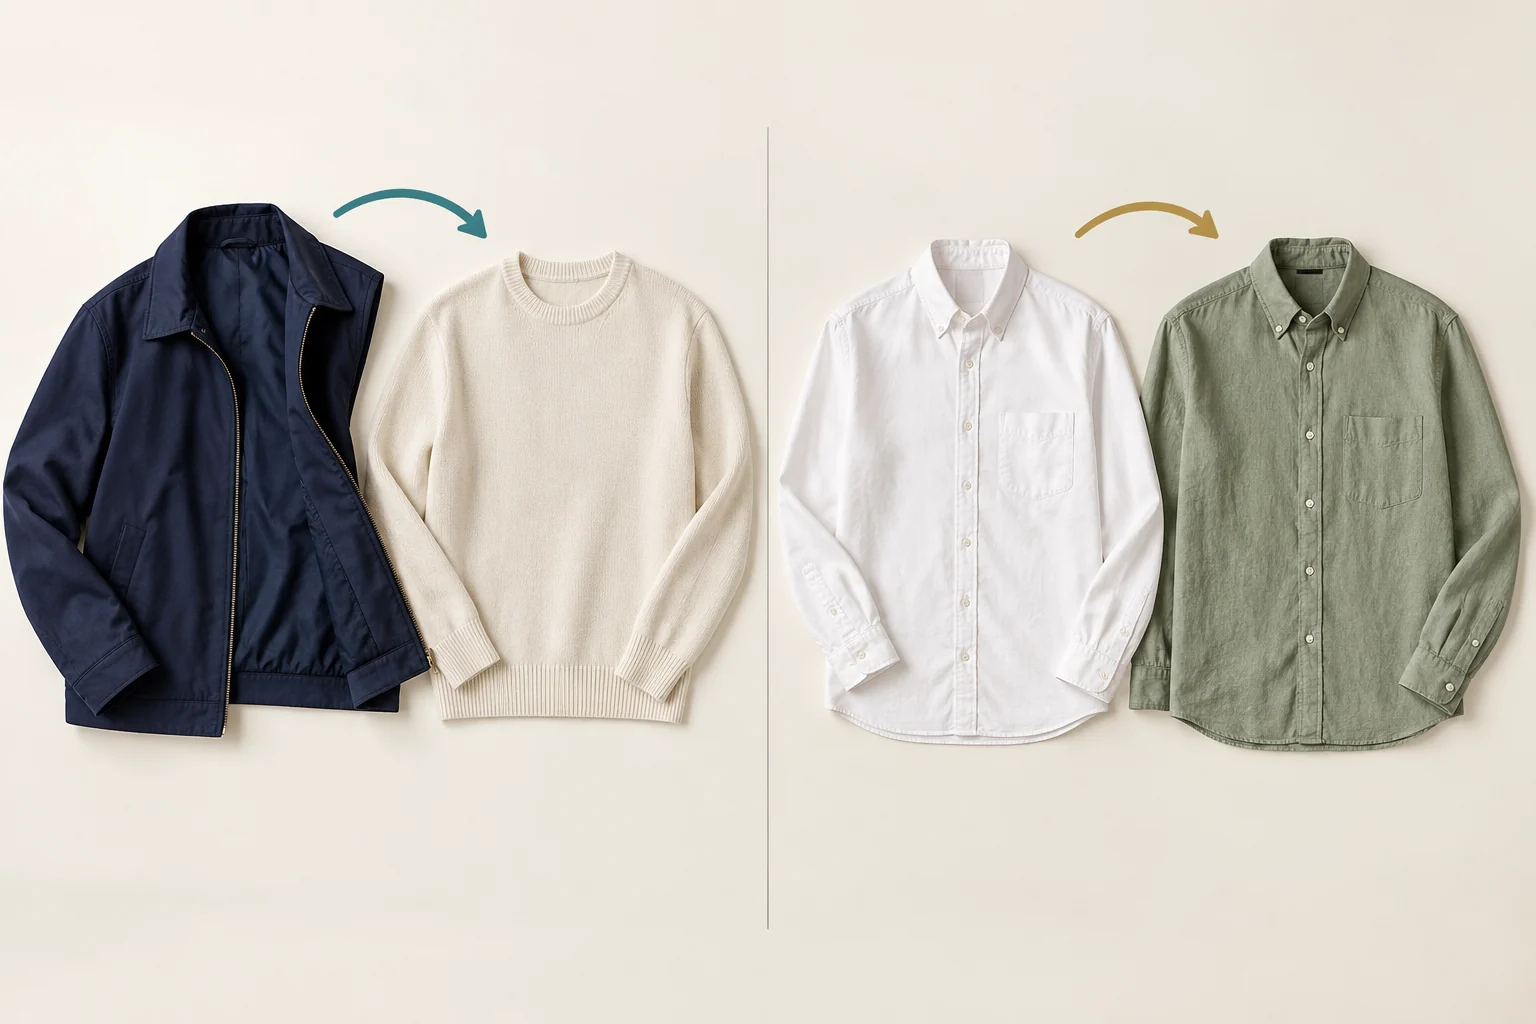
Quick answer: a clothes changer replaces a visible garment, while an outer-layer removal workflow replaces the area covered by a coat or similar layer. Both may generate new pixels. Choose from the required final image, and use real references whenever a specific product or hidden garment must be accurate.
AI clothes changer and AI clothes remover sound like neatly separated product categories, but the names do not tell you exactly how an editor works. Two services using different labels may offer the same selected-area generation. A service with a familiar name may lack the controls your project needs.
The useful distinction is the editing operation. What should disappear? What should replace it? Which parts must remain unchanged? This guide turns those questions into a decision process for fully clothed portraits, styling concepts and apparel product images.
1. Define the final image before choosing a tool
Imagine a portrait of an adult wearing an open navy jacket over a cream sweater. If the final image should show the same person in a sweater, the jacket area needs replacement with a covering base outfit and any newly visible background. That is an outer-layer reconstruction task.
If the final image should show the person wearing a green shirt instead, the visible outfit needs replacement with a different garment. That is an outfit change. If the sweater should simply become blue, you may need only a local colour adjustment.
Those briefs differ in how much of the original can be preserved and what new information is needed. A colour adjustment uses existing folds and seams. A generated replacement may change construction. Removing a closed coat leaves a large area with no photographic evidence about the clothing underneath.
Write the result in ordinary language before searching for a feature: “same pose and face, fully covering green shirt, original room.” This makes the project easier to discuss with a client and easier to evaluate after editing.
2. Use a decision table based on the target
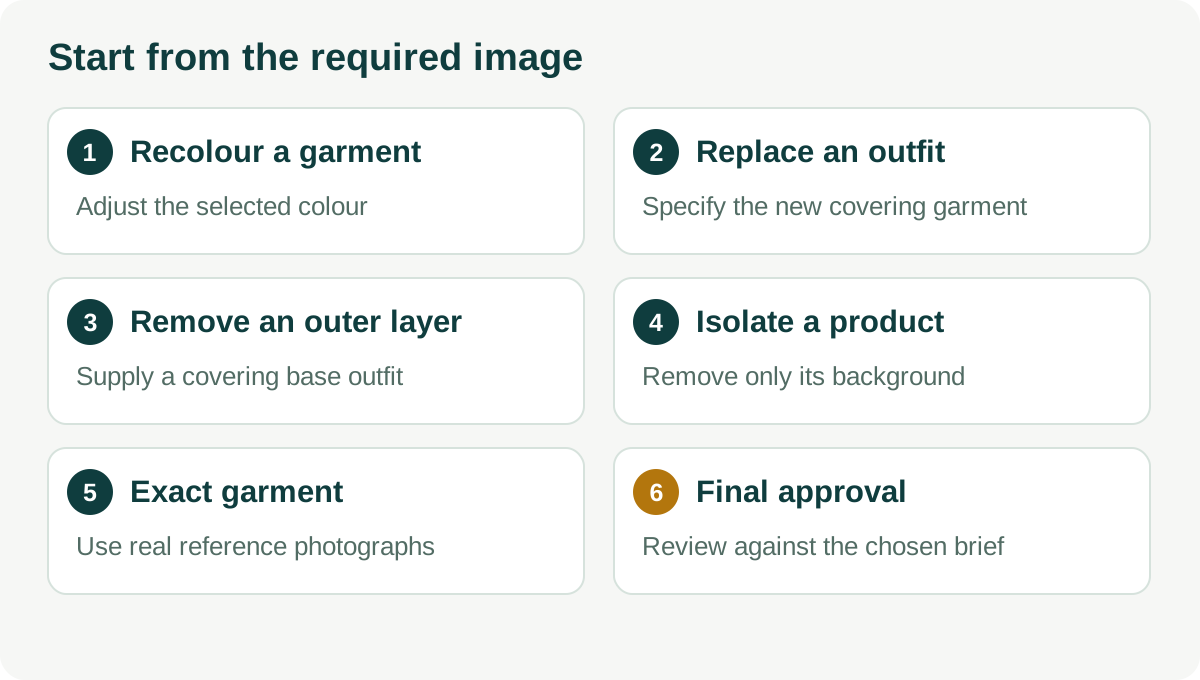
| Required final image | Operation | Useful input | Critical check |
|---|---|---|---|
| Existing shirt in another colour | Masked colour adjustment | Original photograph and colour reference | Construction and texture stay consistent |
| Same person in a different shirt | Garment replacement | Portrait and garment brief or reference | Coverage, seams, pose and identity |
| Coat absent, covering base outfit visible | Outer-layer reconstruction | Visible base garment or matching photo | Hidden details are not mistaken for evidence |
| Garment alone on a clean background | Subject isolation or product composite | Suitable product photographs | Edges and actual garment shape |
| Specific product on a person | Reference-led try-on or photography | Actual garment images and portrait | Product fidelity and limits of fit prediction |
Use this table to select a workflow, then investigate the editor's actual controls. Marketing labels can overlap, and the same job can sometimes be completed with several methods. The method should follow the brief and available references.
3. What a clothes changer needs to do well
An outfit replacement must place a new garment into the source pose while respecting coverage, light and important portrait details. The garment may need different sleeves, collar or hem than the original, so the edit can change the silhouette as well as the texture.
For a hypothetical styling idea, describe a clear garment and keep the rest of the scene stable. For an exact product, provide references showing construction. A prompt saying “a green jacket” cannot specify the real item's pocket count, zipper placement or textile weave.
Separate a colourway concept from a product representation. A designer can use a generated shirt to explore a direction before sampling. A seller should not publish that same shirt as proof that a particular physical product exists with matching construction.
Good review criteria include neckline continuity, sleeve-to-hand boundaries, realistic folds and consistent shadows. Also check whether the editor changed facial details or the background. A successful garment replacement should satisfy the whole brief, not just the new clothing description.
4. What outer-layer removal really involves
Removing a jacket from a single photograph is not equivalent to taking off the actual jacket. The photo records only what the camera saw. Covered sweater sleeves, shoulders and side seams are missing from that image.
The editor therefore needs a replacement source. It can use another photograph, a manual composite, local texture repair or generated content. Each route has different evidence and limitations. Only a suitable real reference can establish the actual hidden garment details.
An open outer layer often supplies more clues than a closed one. Visible collar and chest fabric help define a plausible continuation. They still cannot prove the covered construction. For commercial accuracy, compare with a photograph of the real outfit.
Removing bulk also changes the visible outline and shadows. The editor may need to rebuild a strip of the wall next to the torso and remove a coat shadow from the base garment. Treat those as separate repairs so that clothing and background do not become one uncontrolled generation.
5. Keep background removal and ghost mannequin work separate
A background remover isolates the visible subject from its surroundings. If a jacket is hanging against a wall, this can help produce a cutout of the jacket. If a person is wearing it, removing the background still leaves the person and jacket together.
A mask can hide the person, but it cannot supply garment areas the person obscures. Product-only presentations may require additional views: the neckline interior, rear construction or other parts that were not visible in the original image.
A ghost mannequin image is a product presentation with a dimensional garment shape and no visible mannequin or wearer. The source photographs need to support that presentation. Treating a casual portrait as a complete product record can create invented interiors or seams.
For ecommerce, begin with appropriate product photography rather than assuming a general-purpose clothing editor can reconstruct every unseen panel. The tool comparison guide helps you assess selections, masks and handoff formats for that workflow.
6. Understand what virtual try-on can and cannot establish
A virtual try-on workflow typically uses information about a person and a garment to create a visual preview. That preview may be useful for styling, but an attractive image alone does not establish physical fit, garment measurements or how fabric behaves in motion.
Check the actual tool's inputs. Does it accept a garment photograph, rely only on text, or use some other information? Can it preserve a particular print? Does it explain the limitations of its result? Avoid comparing tools under one label without examining those differences.
For an exact product, compare important details with the reference: neckline, cuffs, pockets, closures and hem. Record whether the output is an approved lifestyle image or an internal preview. This prevents a speculative fit image from being treated as a sizing recommendation.
Real garment measurements, size charts and actual photography remain separate inputs to a purchase decision. If a project needs validated fit information, ask for the evidence supporting that feature rather than inferring it from the word “try-on.”
7. Write a different brief for each operation
For a colour edit, say: “Change only the navy shirt to muted sage. Retain the existing buttons, pockets, weave, folds and original portrait.” This keeps the target limited and gives the reviewer concrete details to compare.
For an outfit change, say: “Replace the selected top with a fully covering cream long-sleeve linen shirt. Use the supplied collar and pocket reference, preserve the adult's face and hands, and match the original light.” The reference supplies detail that text alone may not convey.
For outer-layer reconstruction, say: “Replace the selected jacket with a continuation of the visible fully covering blue sweater. Preserve the portrait and trousers; rebuild only the affected background strip.” Also record whether the sweater is hypothetical or must match a real reference.
For a cutout, say: “Keep the photographed garment intact and remove only the surrounding background.” Do not add garment replacement instructions to the same job unless that change is separately approved. A precise brief makes it easier to choose the right operation and reject unintended changes.
8. Combine operations only when the intermediate image helps
Sometimes removing an outer layer before replacing the base garment gives you a clearer working silhouette. In other cases it introduces an unnecessary invented intermediate outfit. Compare the simplest route with a staged route using the same source and acceptance standard.
Keep the original throughout the process. Do not repeatedly flatten and overwrite accepted regions, because changes can accumulate. Save intermediate versions with names that describe the operation, such as outer-layer-repair or shirt-colour-v2.
If a stage supplies missing information only by generation, the next stage cannot turn that invention into evidence. A realistic intermediate sweater is still an estimated garment. Use a real reference when the final output must be product-accurate.
Approve each stage for its purpose: silhouette and scene for an outer-layer repair, construction for a replacement, colour for a recolour and file properties for the final export. This is more informative than asking whether the overall image “looks good.”
9. Evaluate results with operation-specific checks
For a colour adjustment, inspect whether seams and weave remain unchanged and whether the mask altered skin or background. For a replacement, check coverage, garment construction and consistency with the pose. For outer-layer reconstruction, assess the source of hidden details and the changed outline.
For every portrait edit, compare the face, hands and hair with the original. A prompt can express the requirement to preserve them, but it does not guarantee exact preservation. Restore original regions manually where the workflow permits it.
For every product image, ask whether a shopper could reasonably expect the item shown. A generated logo, extra pocket or new pattern can be a material error. Check against actual photographs and product information before approving the image.
Open the downloaded file as well as the preview. Confirm dimensions, crop, transparency if needed and the expected metadata. Keep the approved master so that later resizing or publishing does not become an undocumented new edit.
10. Choose tools and budget around the complete job
Look for the controls needed by the operation: garment selections, reversible masks, local colour adjustments, reference inputs and usable exports. A short feature list may be sufficient for a simple recolour; a demanding product composite may require a more extensive manual workflow.
Measure usable output on your own images. Record attempts, repair time and approved deliverables. A cheap generator with many retries can cost more than a manual adjustment that gets the construction right the first time. Use the cost-per-approved-image method to compare fairly.
Check source rights, subject approval and the processing service independently from editing capability. The label on a tool does not establish permission to alter someone's photograph or publish their likeness. Keep those records with the brief and the approved version.
If the source lacks essential information, change the inputs instead of relying on a more dramatic product claim. A clearer garment photograph, a matching pose or a new source image may solve the job more directly than switching between services with similar names.
A brief that avoids an unnecessary second edit
Consider a client who says “remove the jacket” but actually wants a portrait in a white shirt for a presentation. Ask what the final image should show, then record the shirt type, coverage and approved portrait details. Reconstructing a hidden sweater first would add an intermediate garment the client never needed. A direct, reference-led shirt replacement may be easier to review.
If the client instead needs the exact sweater from the original shoot, request its matching photographs and choose a reconstruction or composite supported by those files. The same initial phrase leads to a different workflow because the required final image is different. Establishing the target first saves retries and creates clearer approval criteria for everyone handling the picture.
Frequently asked questions
Are clothes changer and clothes remover always different tools?
No. The names can describe overlapping features. Compare the actual operation, inputs, selection controls and export workflow. The required final image is a better starting point than the marketing category.
Can colour changes be done without generating a new outfit?
Often yes. A masked colour adjustment can preserve the existing garment structure. Very large brightness changes or exact commercial colour matching may still need additional references and manual work.
Does removing an outer layer reveal the true outfit underneath?
No. Covered regions are absent from the photograph. The editor needs a reference or creates a reconstruction. A plausible result should not be presented as evidence of the original concealed garment.
Where should I begin with a jacket edit?
Use the four jacket workflows to assess the source. Decide whether a plausible covering outfit is sufficient or whether the exact product and pose require real reference photography.